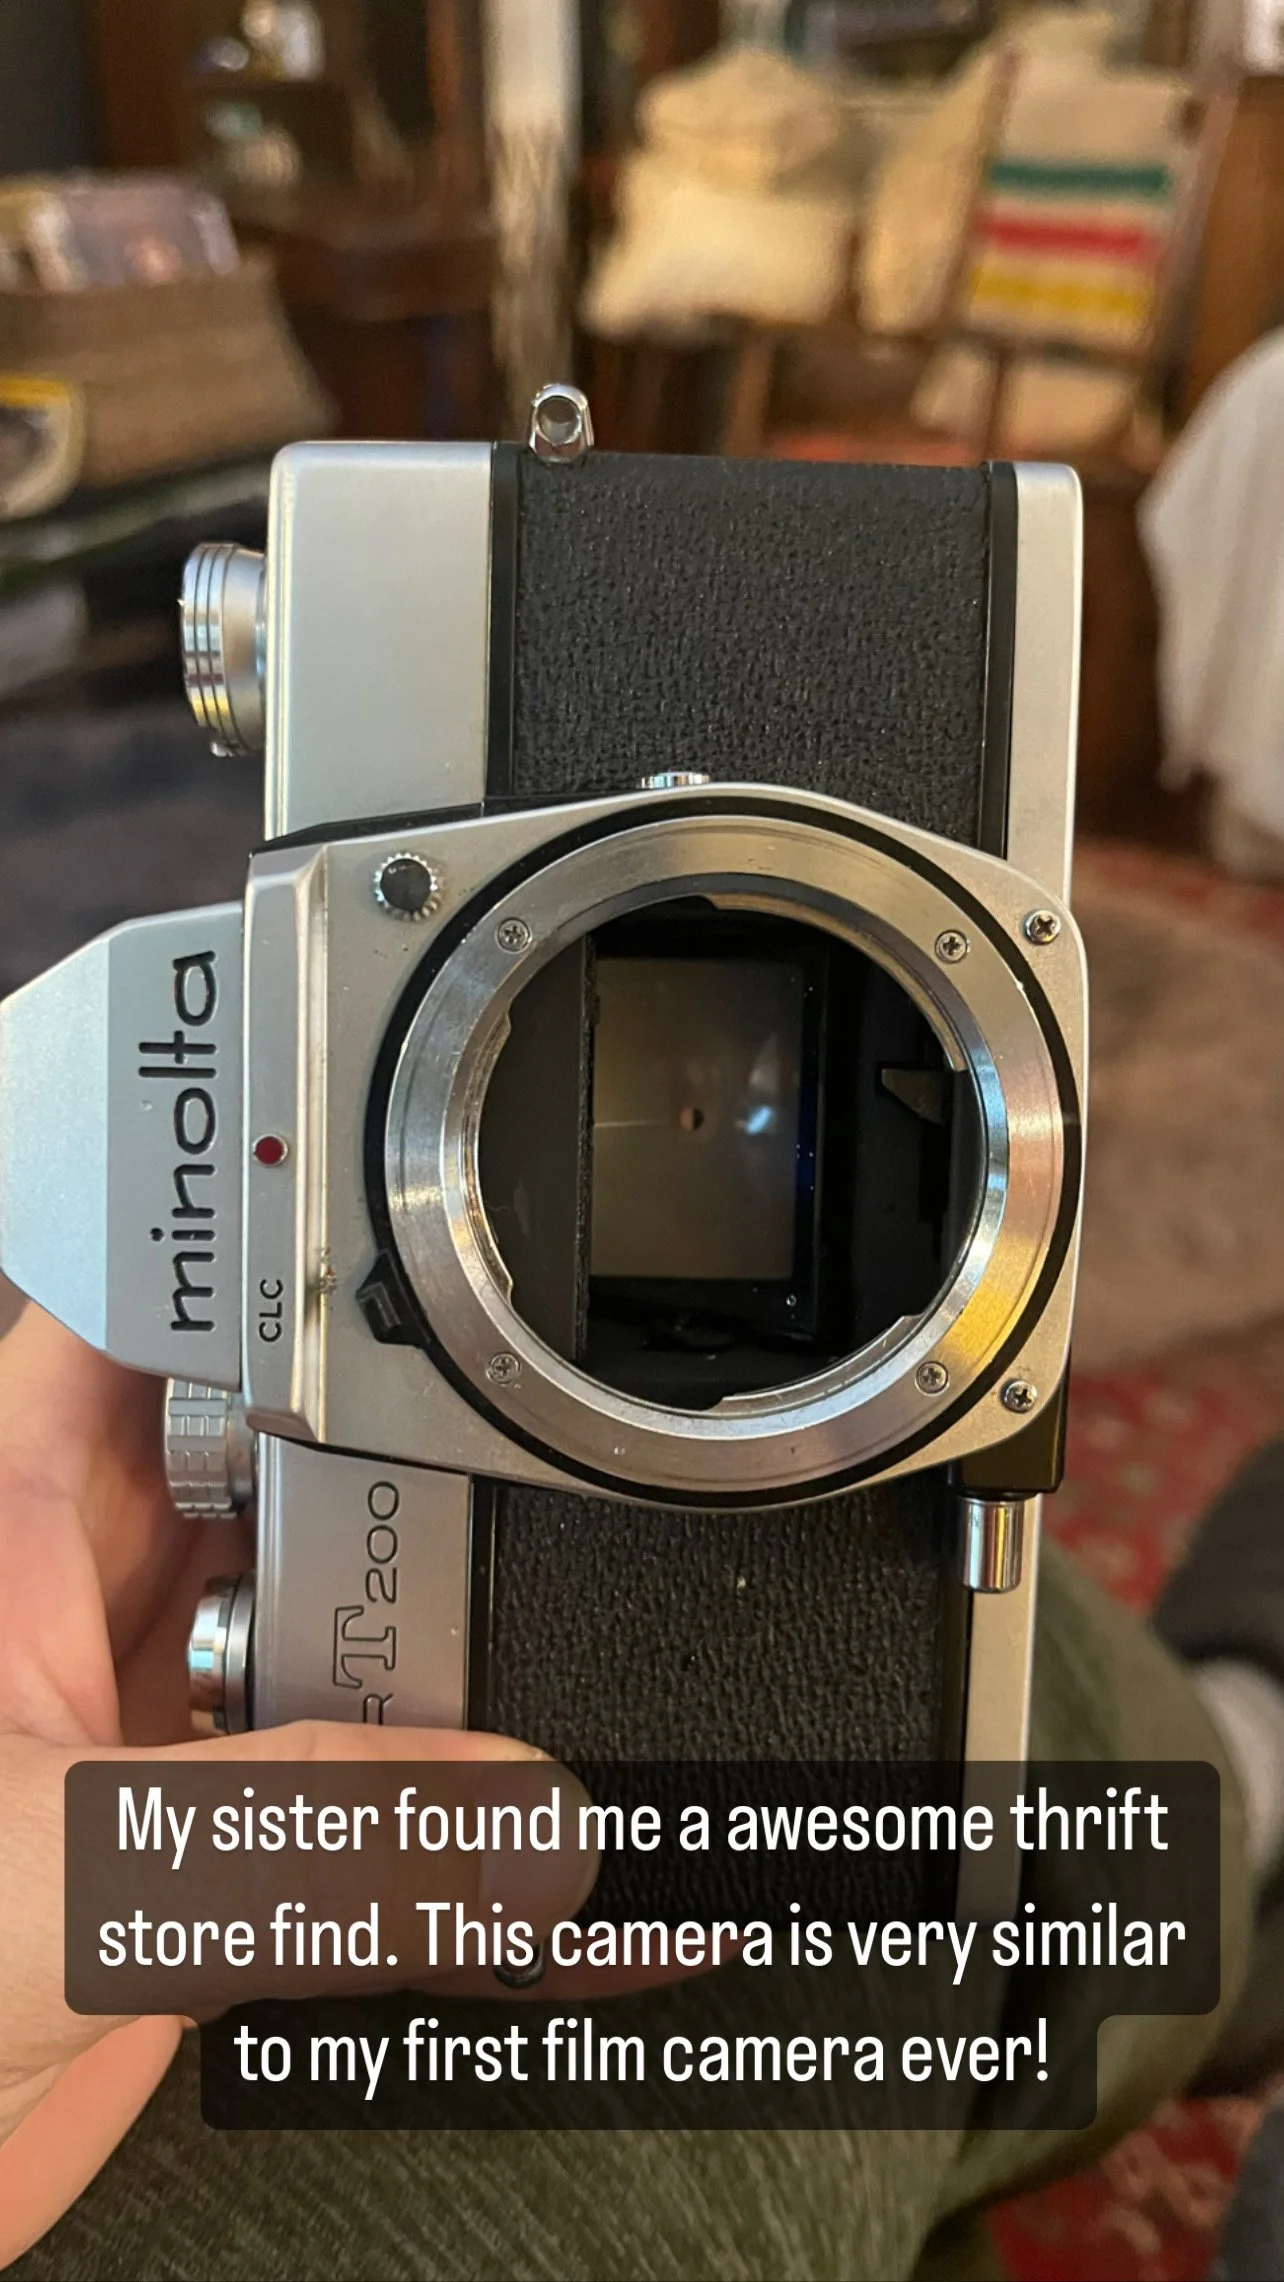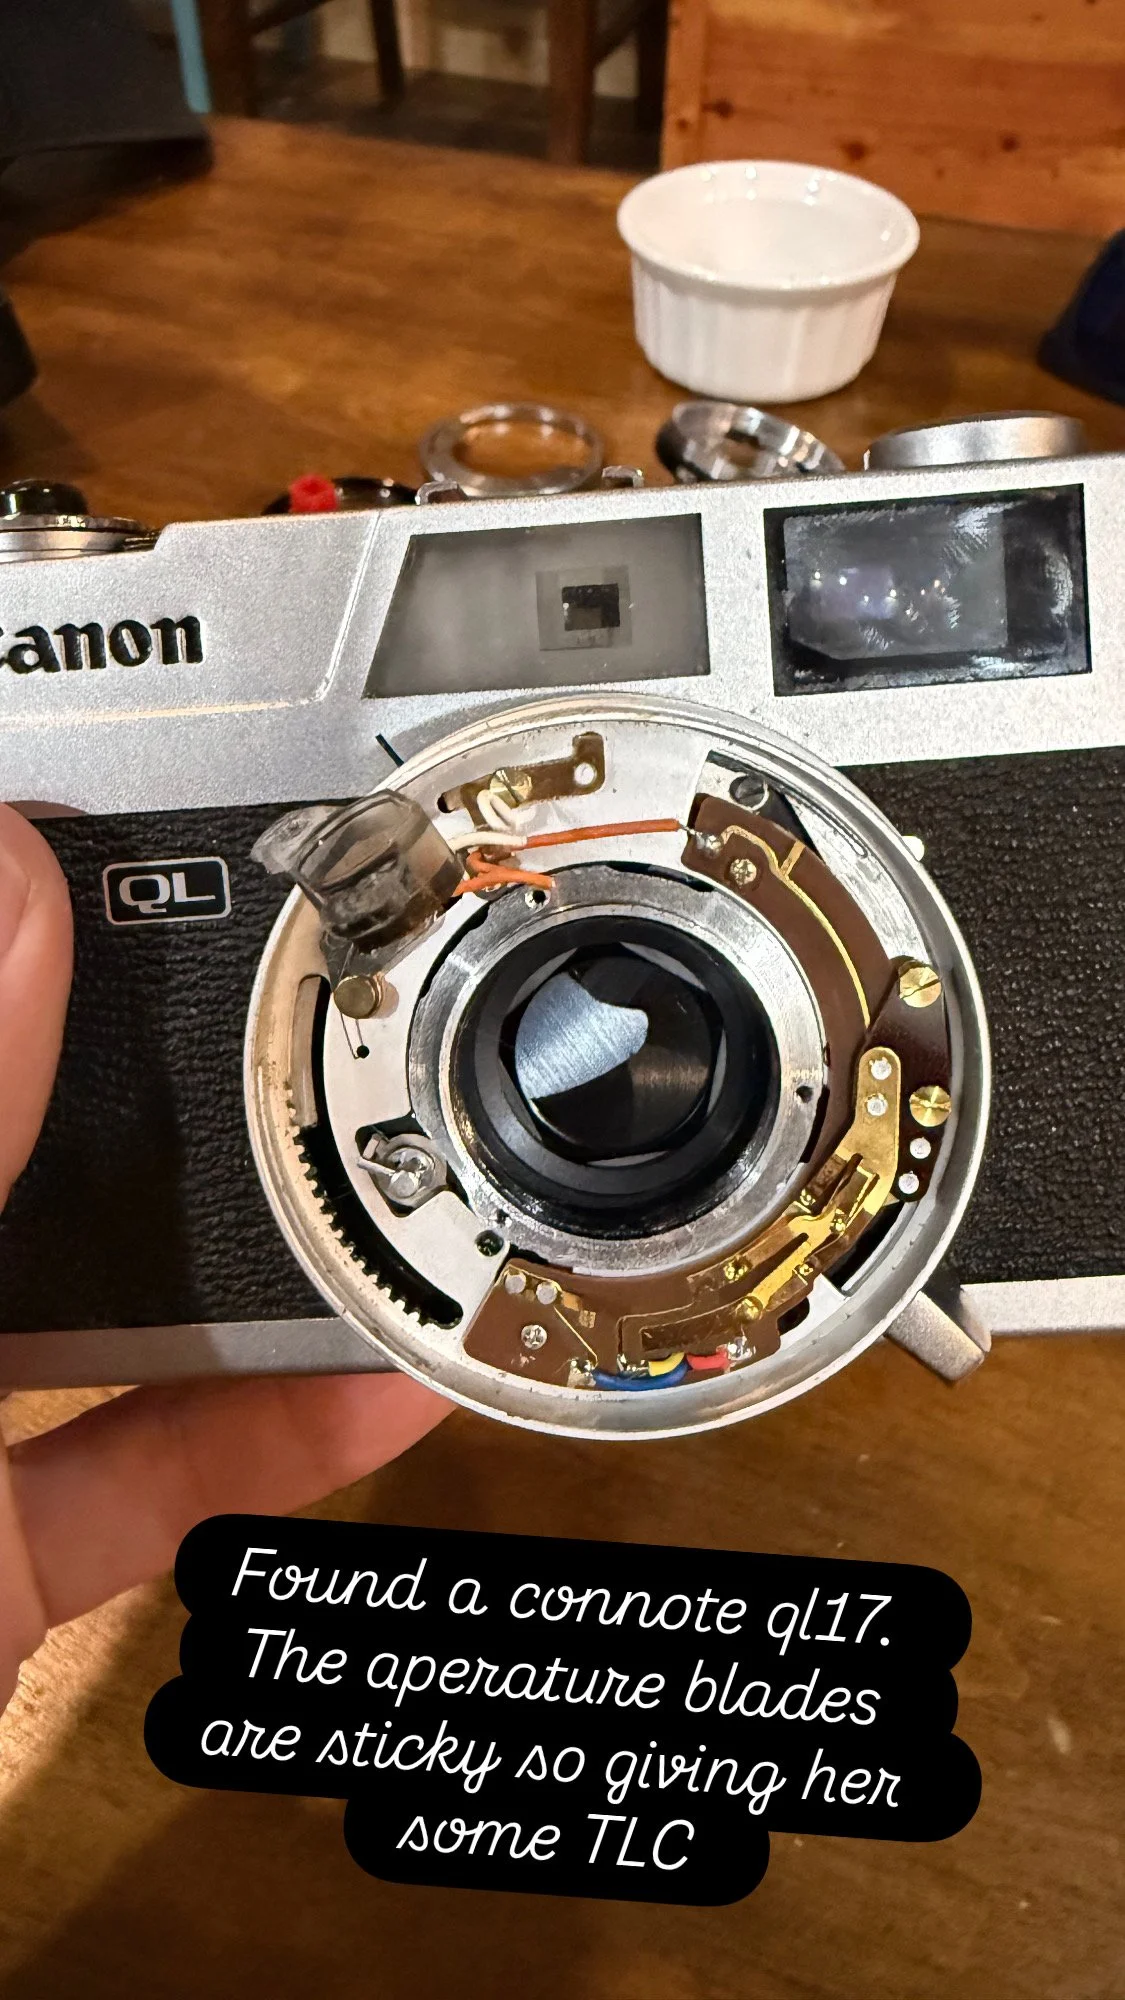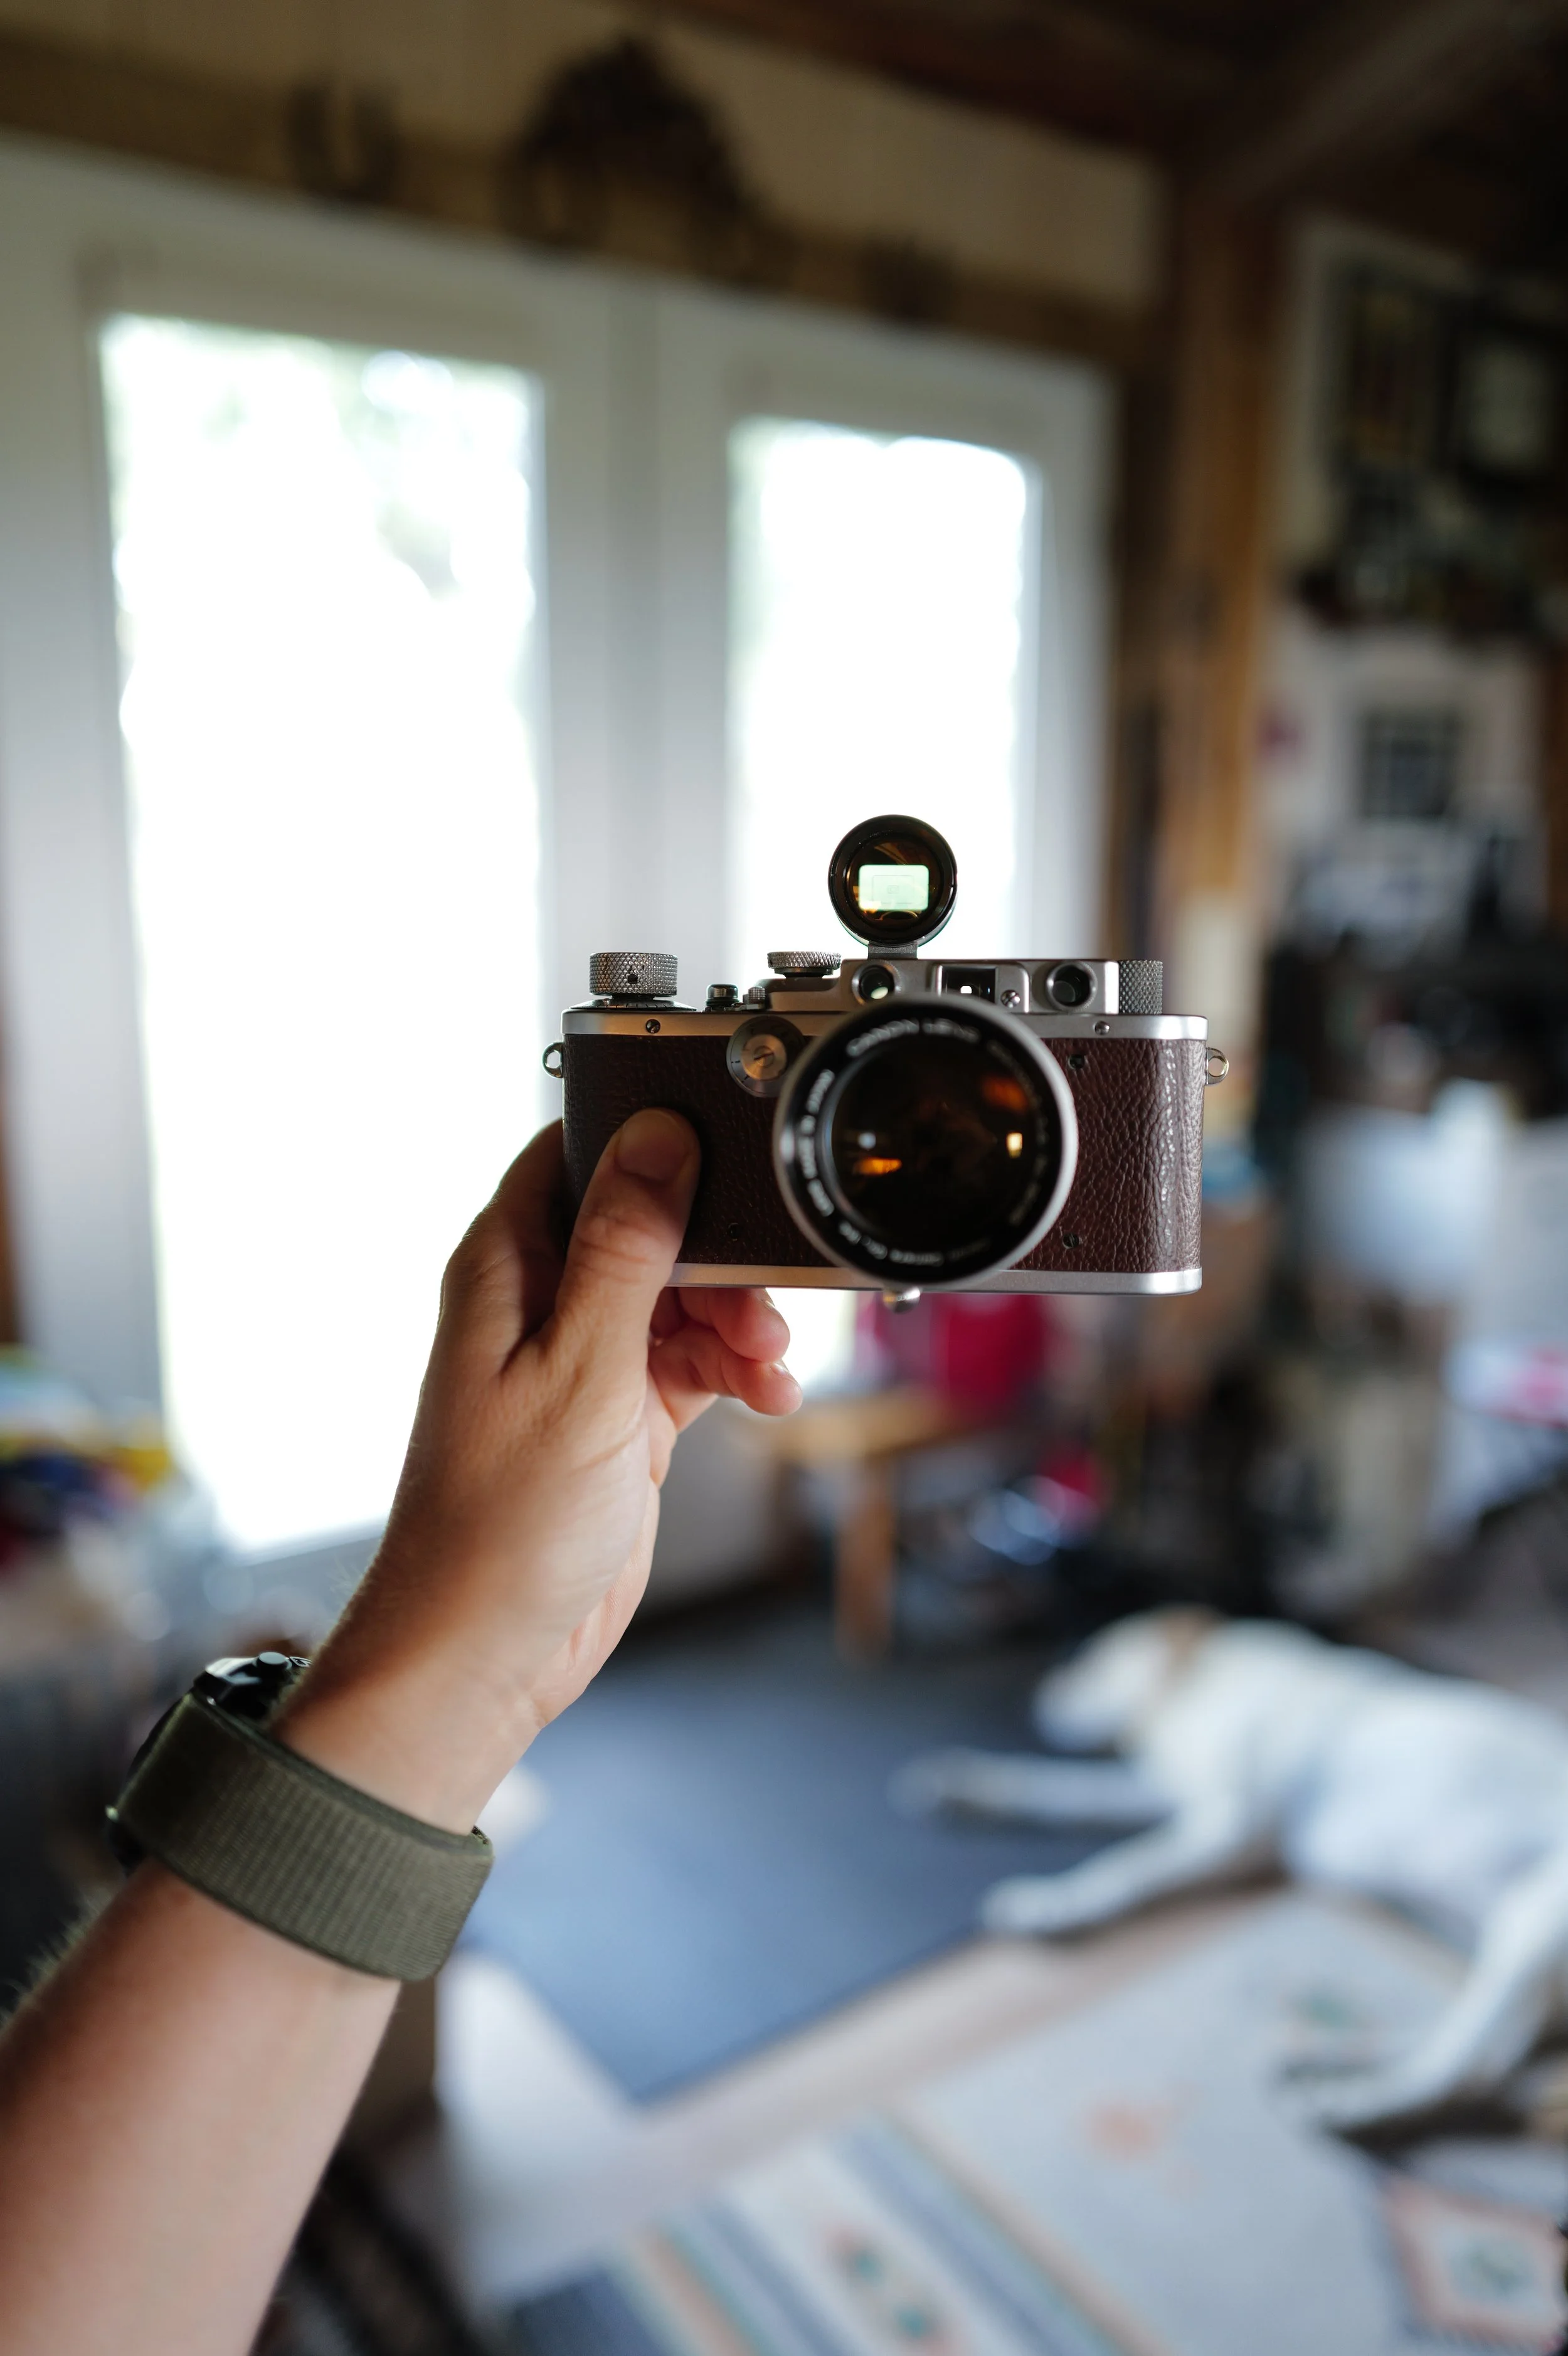
Have you ever found a vintage film camera tucked away in the corner of a thrift store? Hidden in an old box or sitting on a dusty shelf? Maybe a friend, parent, or grandparent handed you an old 35mm camera that had been sitting in a closet for years.
Finding the camera is only the first step in getting into film photography.
Film in 2026 isn’t cheap. Some rolls cost more than $24 before you even factor in development and scanning. Because of that, taking a few extra minutes to inspect a camera before buying it can save you money—and a lot of disappointment.
I currently own more than 70 film cameras in my studio. A handful are higher-end cameras that I purchased through KEH or eBay, knowing they were in excellent working condition. The rest? They were found in thrift stores, antique shops, flea markets, pawn shops, or donated by people who simply didn’t know what to do with their family’s old cameras.
Whenever I find a solid beginner camera—something like a Pentax K1000 or a Nikkormat—I’m always excited. These cameras are built like tanks, can withstand decades of use, and are fantastic cameras for anyone getting started with film photography.
So what should you look for before buying a used camera?
These are the same steps I take every time I pick one up. Spoiler alert—I don’t get it right every time. Buying old cameras always involves a little bit of risk, but that’s part of what makes the hunt so much fun.
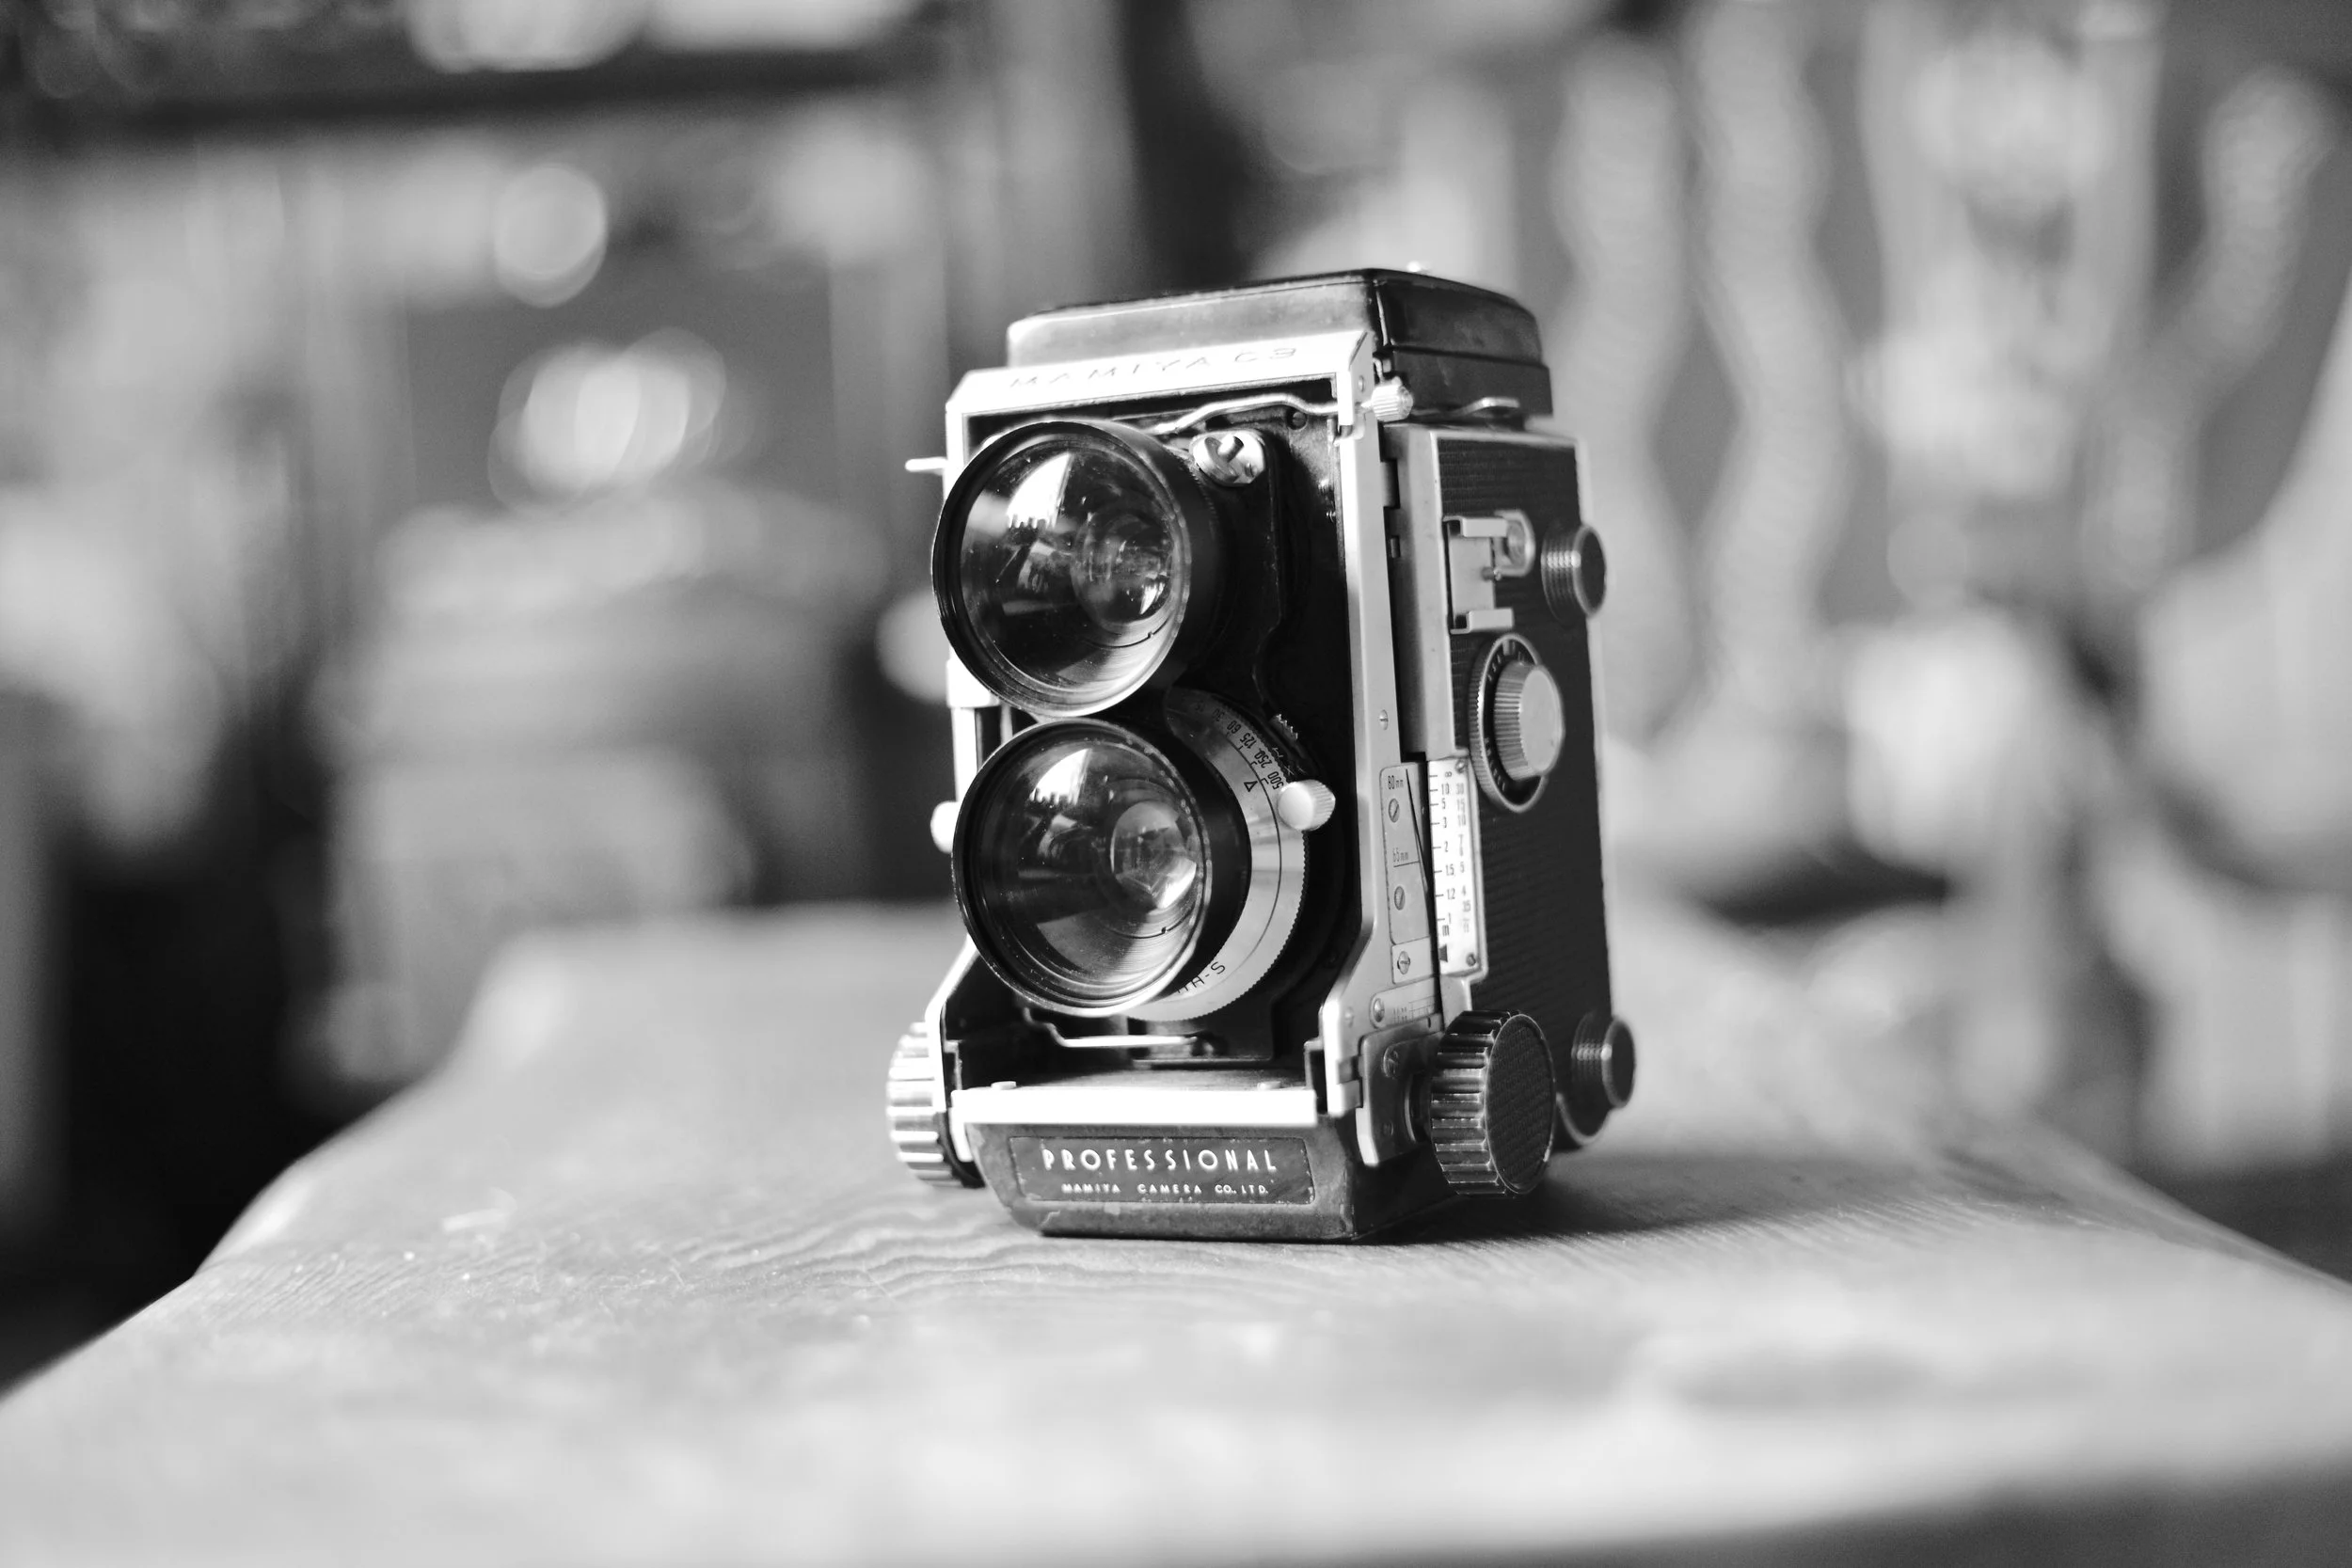
Mamiya C3, found at a flea market. Such a beautiful camera.
Scenario
I walk into a thrift store and immediately spot the edge of a camera hiding behind an old wooden carving of a bald eagle. My heart starts racing.
Before I head to the checkout, here’s my inspection process.
1. Give the camera a visual inspection
Start by looking for any obvious problems.
Large dents that suggest the camera has been dropped.
Signs of water damage.
Haze or fungus inside the lens or viewfinder.
Corrosion in the battery compartment.
Missing screws.
Worn or deteriorated light seals.
You can usually tell fairly quickly how a camera has been stored. Sometimes all it needs is a little TLC. Other times, finding haze or fungus is a sign the camera spent years in a damp environment, and that may be enough for me to put it back on the shelf.
Scenario
Everything looks promising. No obvious haze, no fungus, and the body appears to be in good condition.
Now it’s time to listen to the shutter.
2. Test the shutter speeds
You can learn a surprising amount just by listening.
I start at the fastest shutter speed—often 1/500 or 1/1000 second on older cameras—and fire the shutter.
Then I work my way through every speed.
Listen carefully. Do the shutter speeds sound noticeably different from one another? Is there a sluggish delay at slower speeds? Does anything sound inconsistent?
After that, advance the film lever several times. It should feel smooth without excessive resistance or grinding.
Note: Some cameras require a battery before the shutter will fire. If the shutter button won’t depress, do a quick Google search. The camera may simply need a battery before you can properly test it.
Scenario
So far, so good.
I still haven’t looked up the camera online, so I have no idea if it’s a bargain or not. My excitement is growing, but there are still a few important things to check.
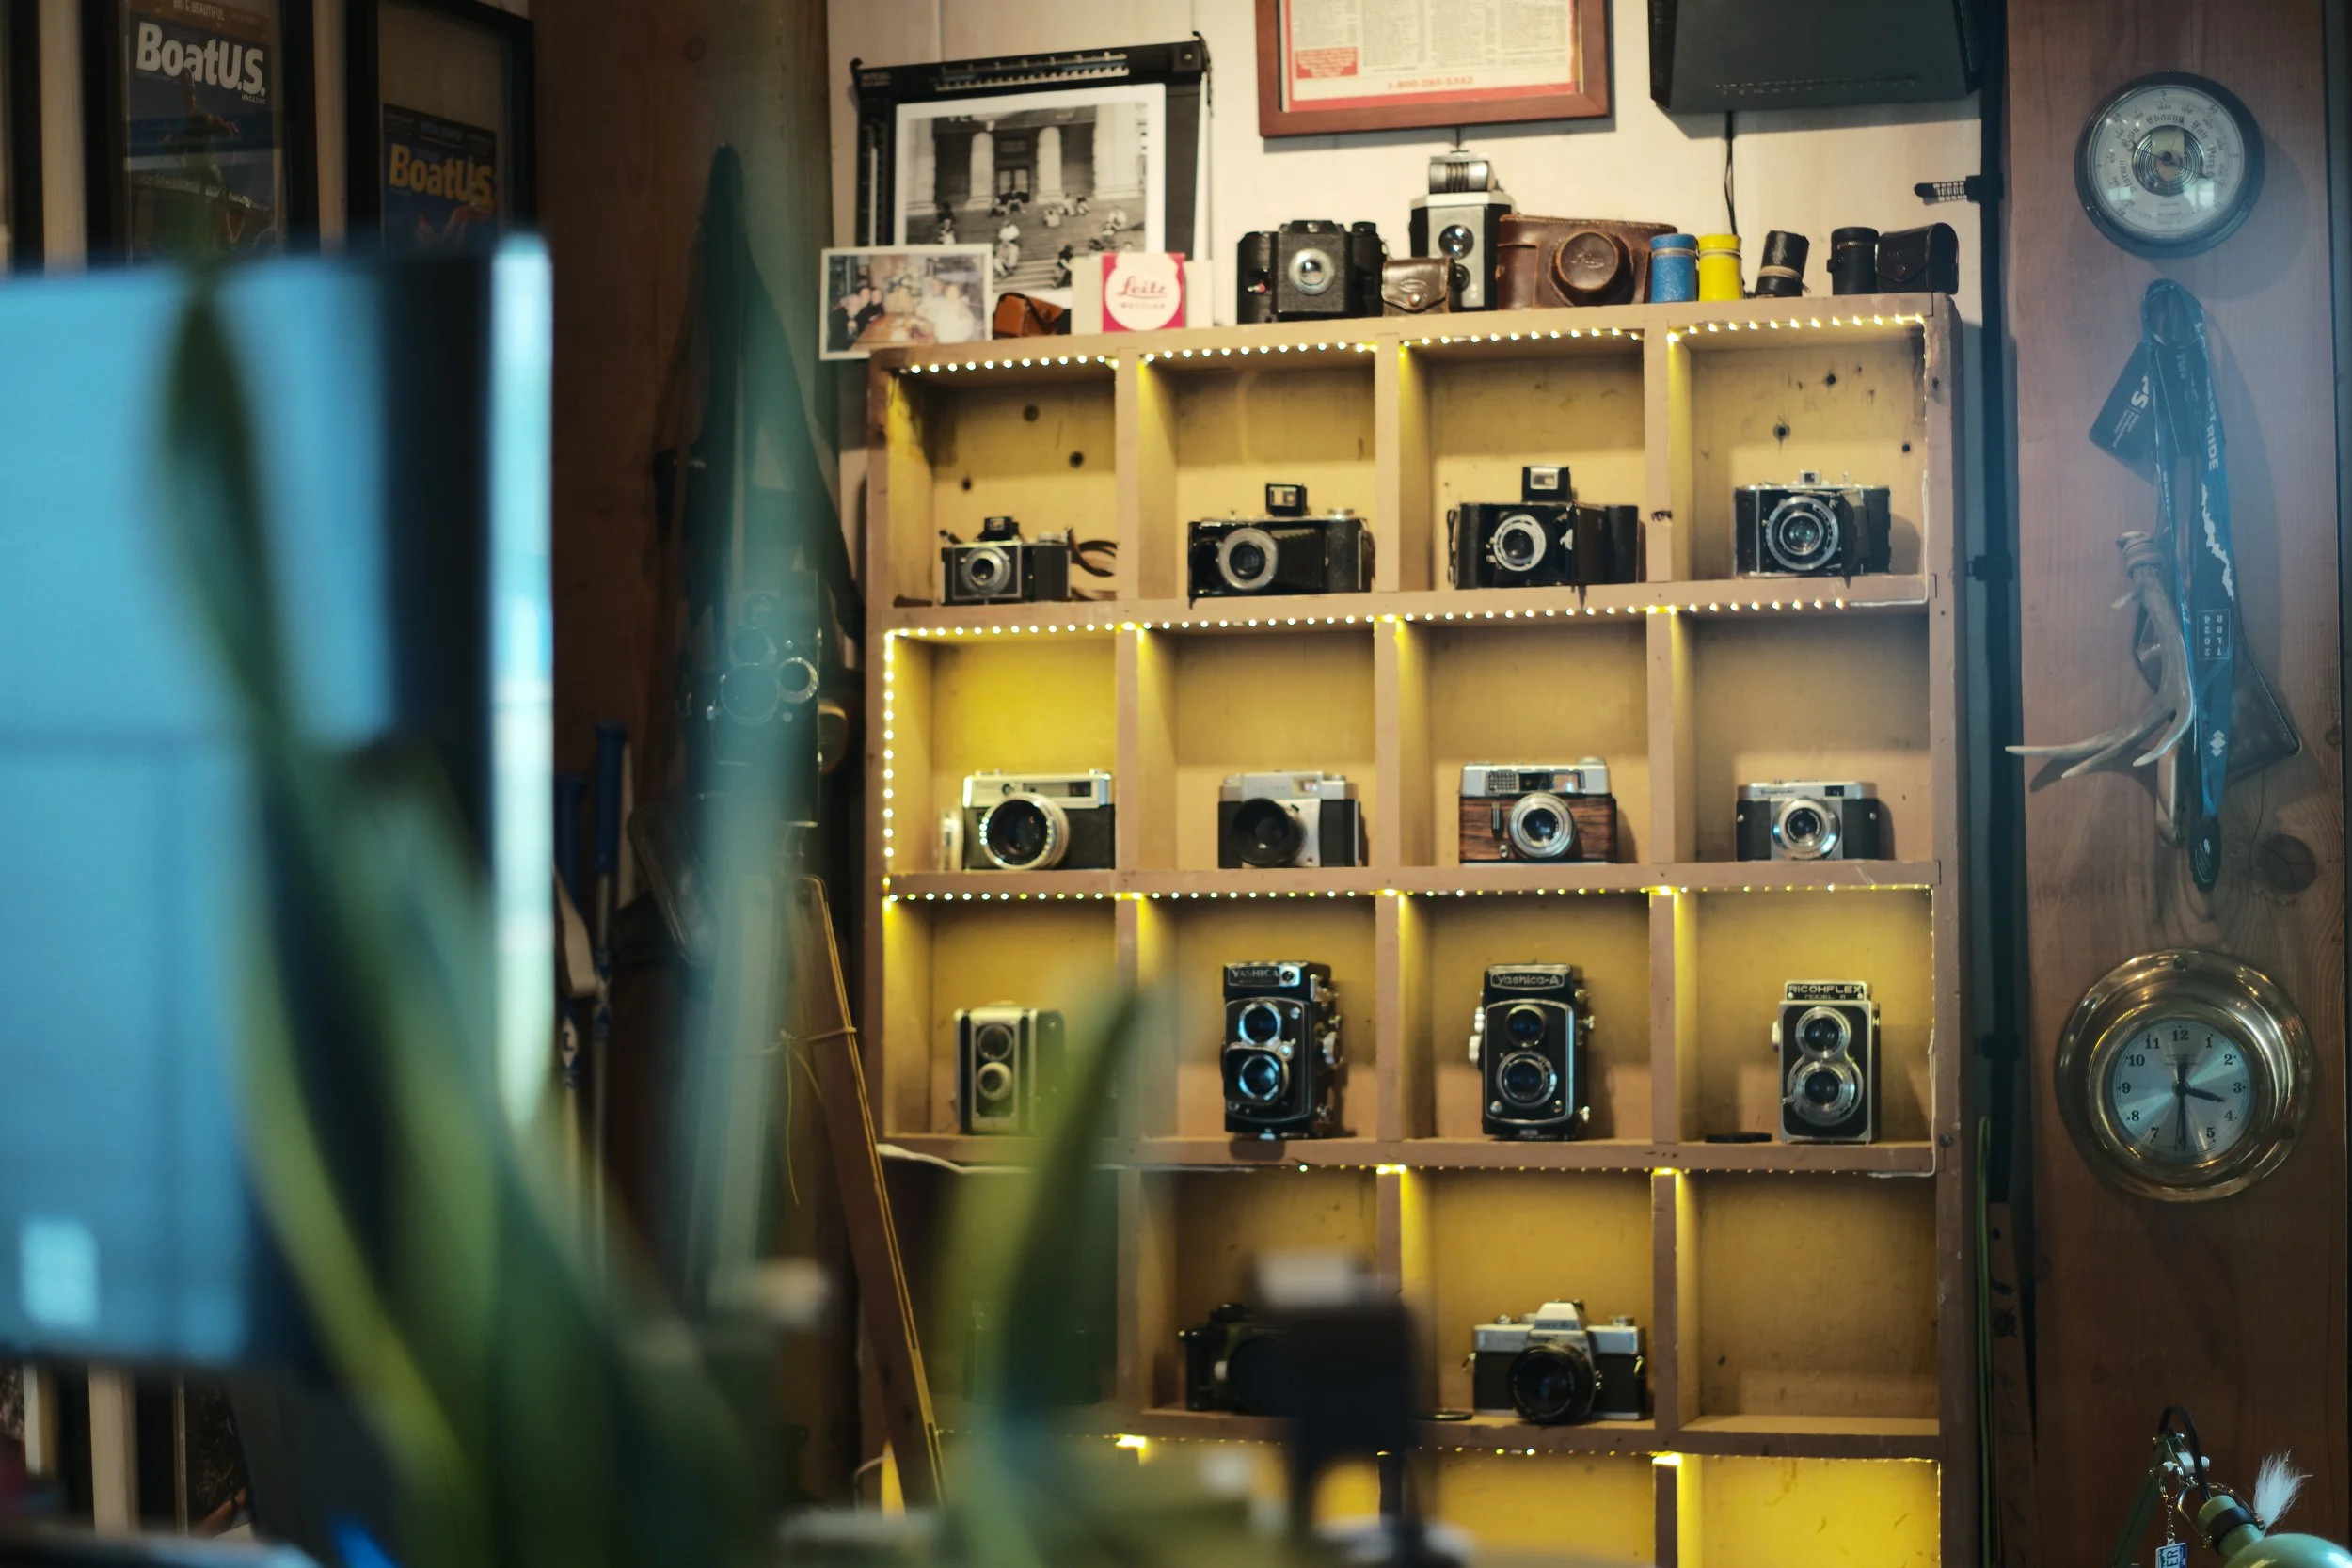
“Some cameras in my studio. Some were found, and others were given to me.”
3. Open the back of the camera
Open the film door and inspect the inside.
Advance the film lever and watch the internal mechanics move.
Fire the shutter while looking through the back.
Hold the camera toward a light source and watch the shutter curtains open and close.
Look for pinholes, tears, or damage in the shutter curtains.
Even if everything else looks great, damaged shutter curtains can cause light leaks and expensive repairs.
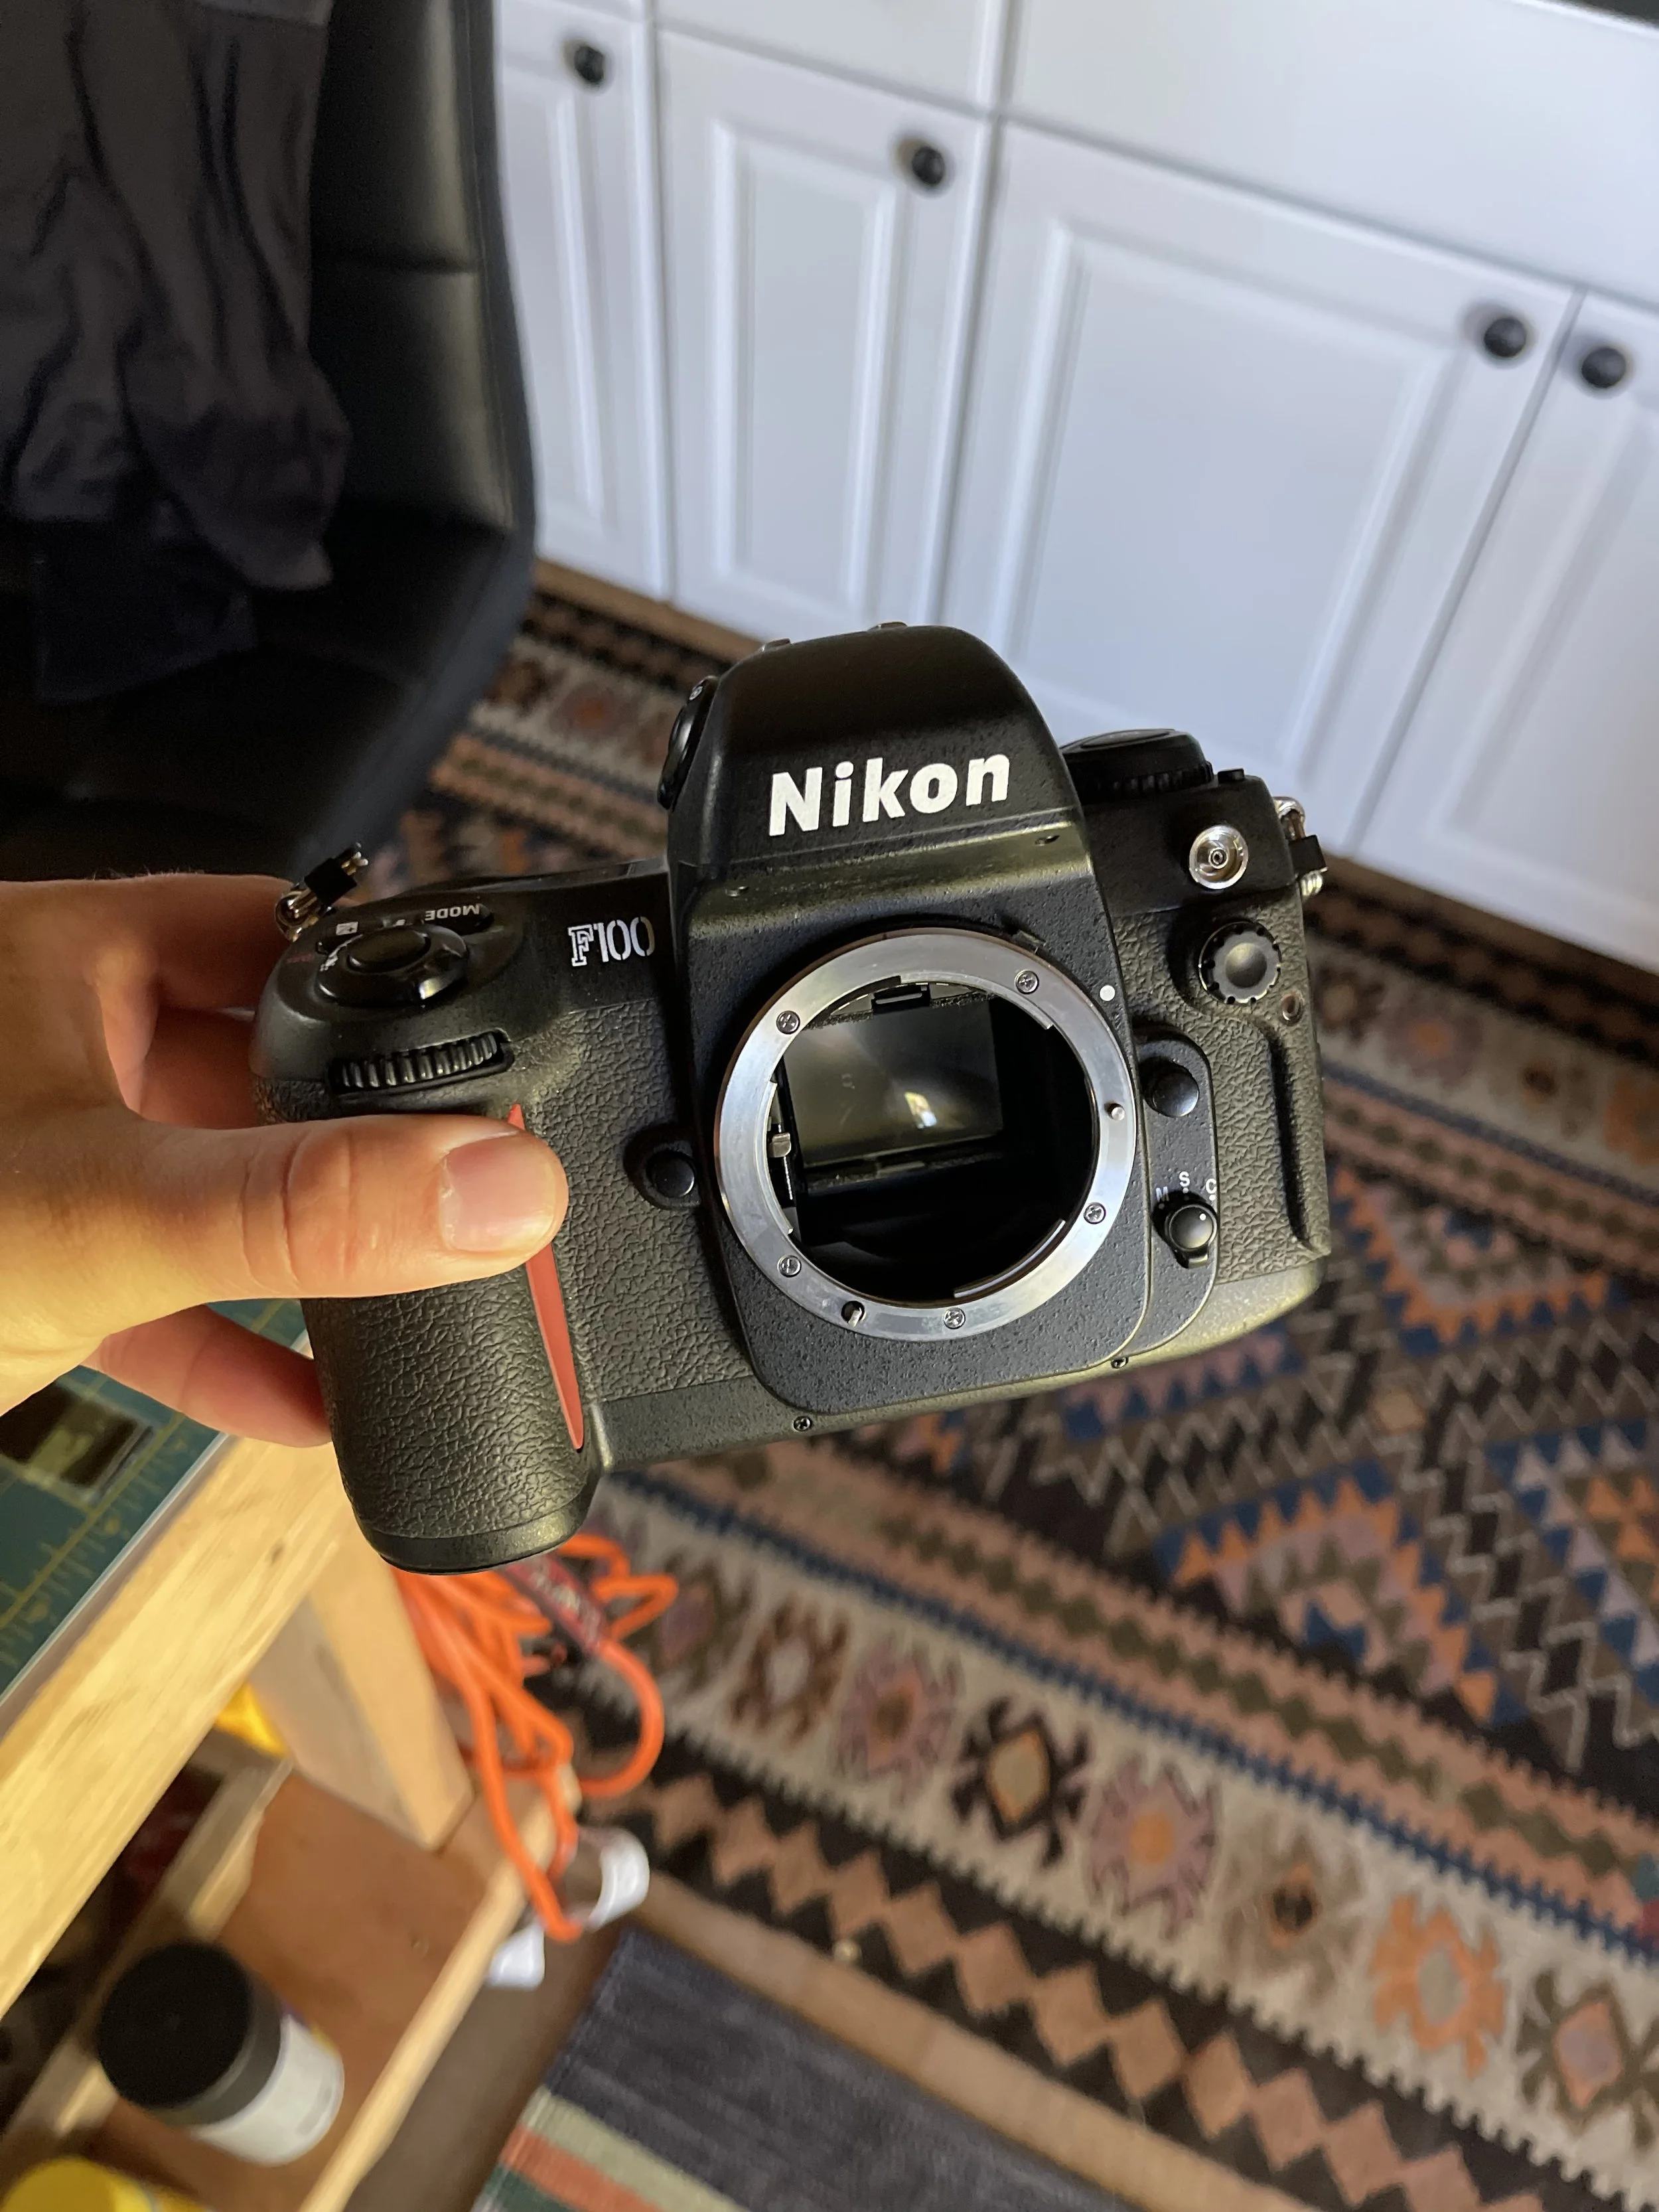
Nikon F100 found at a pawn shop. This camera was in excellent condition.
4. Inspect the lens
Cycle the aperture ring through all of its settings.
Fire the shutter and watch the aperture blades open and close.
Check that the blades move smoothly and don’t have oily residue.
Inspect the front and rear glass for scratches.
Look carefully for haze or fungus inside the lens elements.
A few minor cleaning marks usually aren’t a big concern, but fungus and heavy haze can be difficult and expensive to remove.
Scenario
Everything is checking out. The camera looks and feels great for its age.
Some older cameras don’t even require batteries to make photographs. In many cases, the battery only powers the light meter. Personally, that’s never been a deal breaker for me. Between handheld light meters, smartphone apps, and the Sunny 16 rule, there are plenty of ways to meter without relying on the camera itself.
I still check the battery compartment before making my final decision.
5. Check the battery compartment
Is there corrosion?
Is anything damaged?
Are replacement batteries still available?
A clean battery compartment is always a good sign.
6. Know what you can fix yourself
Not every problem should scare you away.
Some repairs are simple:
Replacing light seals.
Cleaning the exterior.
Cleaning battery corrosion.
Replacing leatherette.
Basic lens cleaning.
Other repairs are usually best left to a technician:
Shutter timing.
Rangefinder alignment.
Fungus between lens elements.
Major shutter or mirror repairs.
Electronic failures.
Knowing the difference can help you decide whether a camera is a bargain—or a headache.
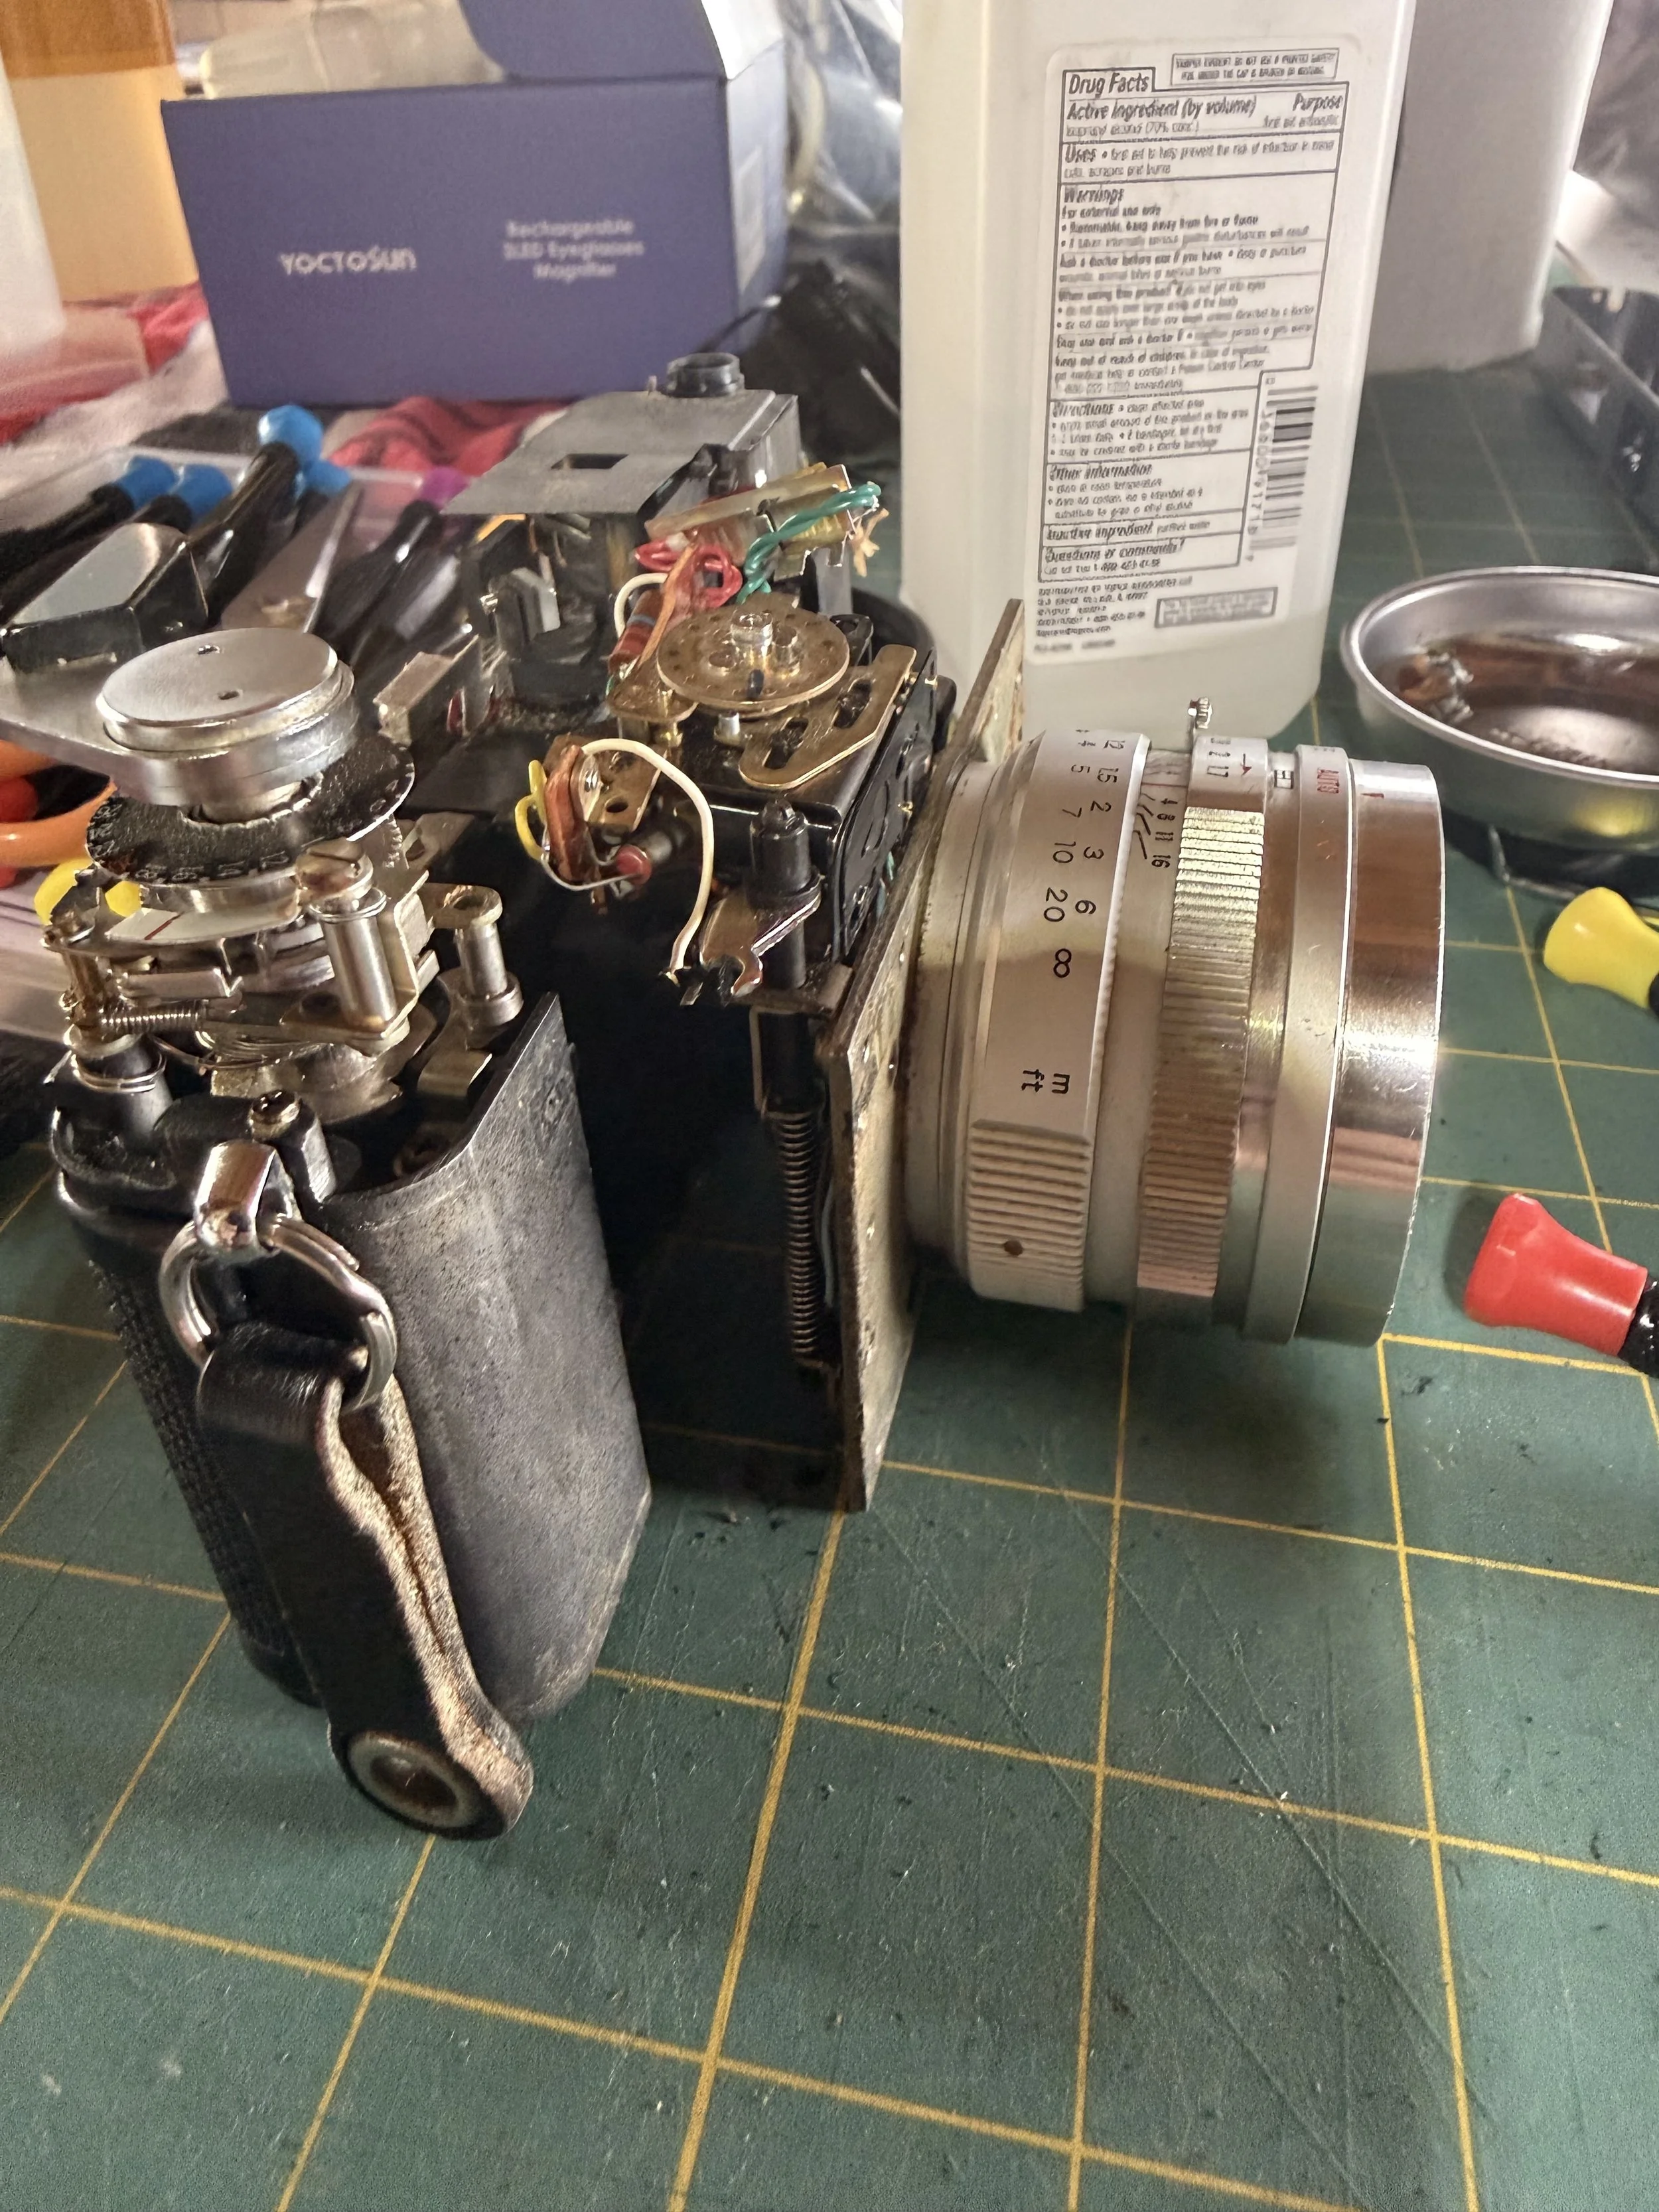
Yup so this Yashica Electra repair didn’t go as planned. I tried to fix the “pad of death”, but turns out the camera had a bunch of other issues. Lost $38 and a few hours of my time on this one.
Final Thoughts
By this point, I’ve usually made up my mind.
If the price is right and the camera passes my inspection, I’ll take the chance.
I’ve bought plenty of cameras over the years. Most have worked out, while a few have needed repairs—or simply became parts cameras. Sometimes the asking price alone justifies the risk. If I found a Leica or a Rolleiflex at a thrift store for next to nothing, I’d gladly gamble on the possibility of needing a repair.
One of my favorite finds was a Mamiya C3 that I picked up at a flea market for $100. I had no idea whether it worked. After running the first roll through it and seeing the negatives, I knew I had found something special.
That’s the part of film photography I love most.
Not every thrift-store camera is going to be a winner, but every once in a while, you discover a hidden gem that becomes one of your favorite cameras. Sometimes taking a chance is worth the risk—and that’s part of the adventure of shooting film.